
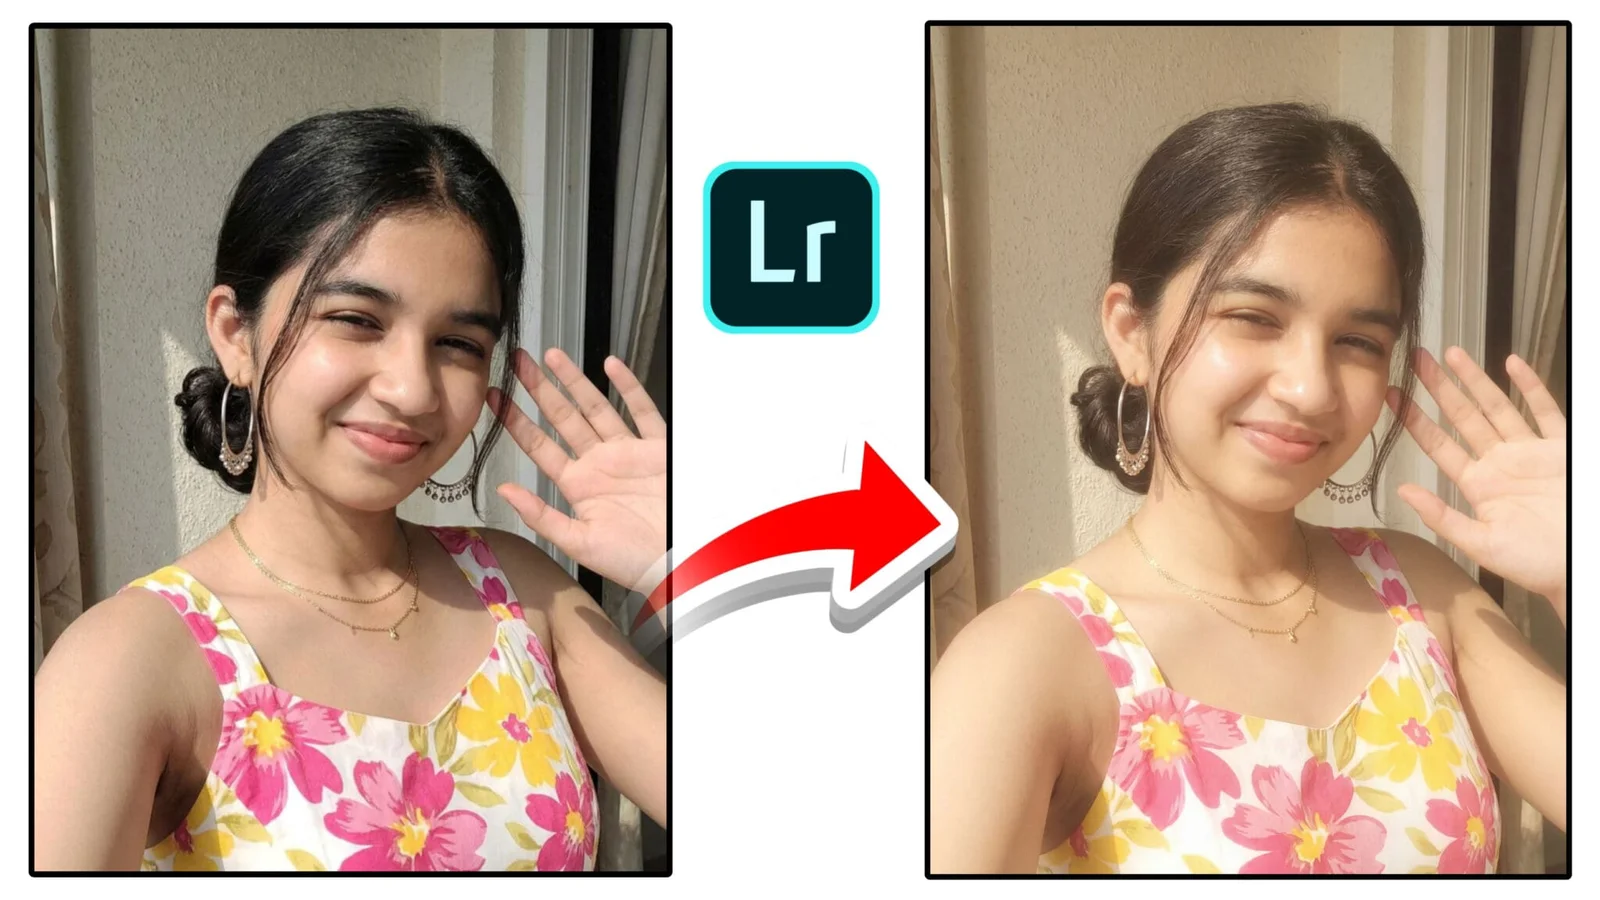
Bihar Preset naam aaj kal har Indian photographer aur content creator ki dictionary mein hai. Yeh free, high-quality Lightroom presets dhundhne walon ka favorite choice ban gaya hai.
Bihar Preset Kya Hai?
Yeh ek Lightroom color grading preset hai jo specially Bihar aur eastern India ki photography aesthetic ke liye design kiya gaya hai. Yeh presets Indian skin tones, Bihar ki sunlight conditions, monsoon greenery, aur festival colors ke liye optimized hain.
Generic Western Lightroom presets — jo European ya American landscapes ke liye design hain — aksar Indian photography par galat lagte hain. Skin tones too orange ya too pale ho jaate hain, greens artificial lagte hain, shadows harsh ho jaate hain. Bihar Preset collection in sabhi problems ko solve karta hai.
Lighting — Portrait Photography Ki Jaan
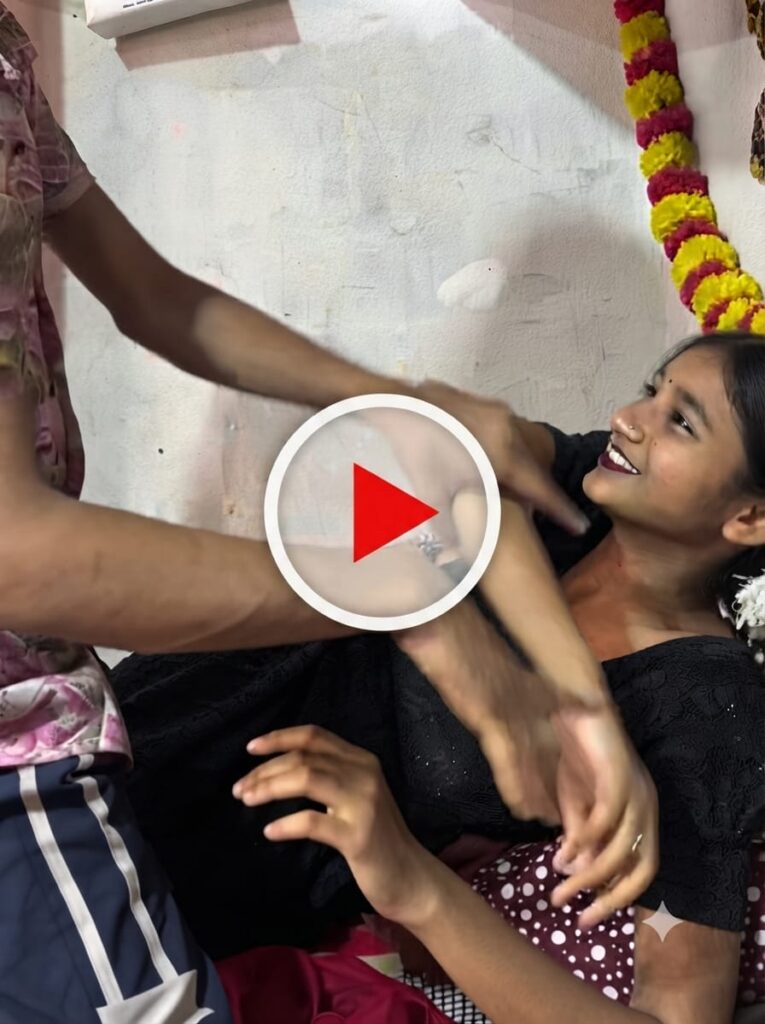
Lighting portrait photography mein sabse important factor hai. Achhi lighting facial features highlight karti hai aur overall image quality improve karti hai. Soft natural light sabse best option hai kyunki yeh subject ke face par smooth aur balanced look create karti hai.
Warm Light Effect
Warm lighting, especially sunset ya golden hour ke time, subject ke around beautiful glow create karti hai. Yeh lighting style photograph mein depth aur softness add karti hai. Skin tones enhance hoti hain aur overall image cinematic aur emotional feel hoti hai.
Soft Lighting for Better Skin Tone
Soft lighting face par harsh shadows reduce karti hai. Skin ki natural texture smooth aur realistic appear hoti hai. Isliye photographers often windows ke paas ya early morning/evening hours mein shoot karte hain.
Free Bihar Preset Collection — Download 2026
Free preset collection mein yeh categories available hain — sabhi .xmp aur .dng format mein, Lightroom Mobile aur Desktop dono ke liye:
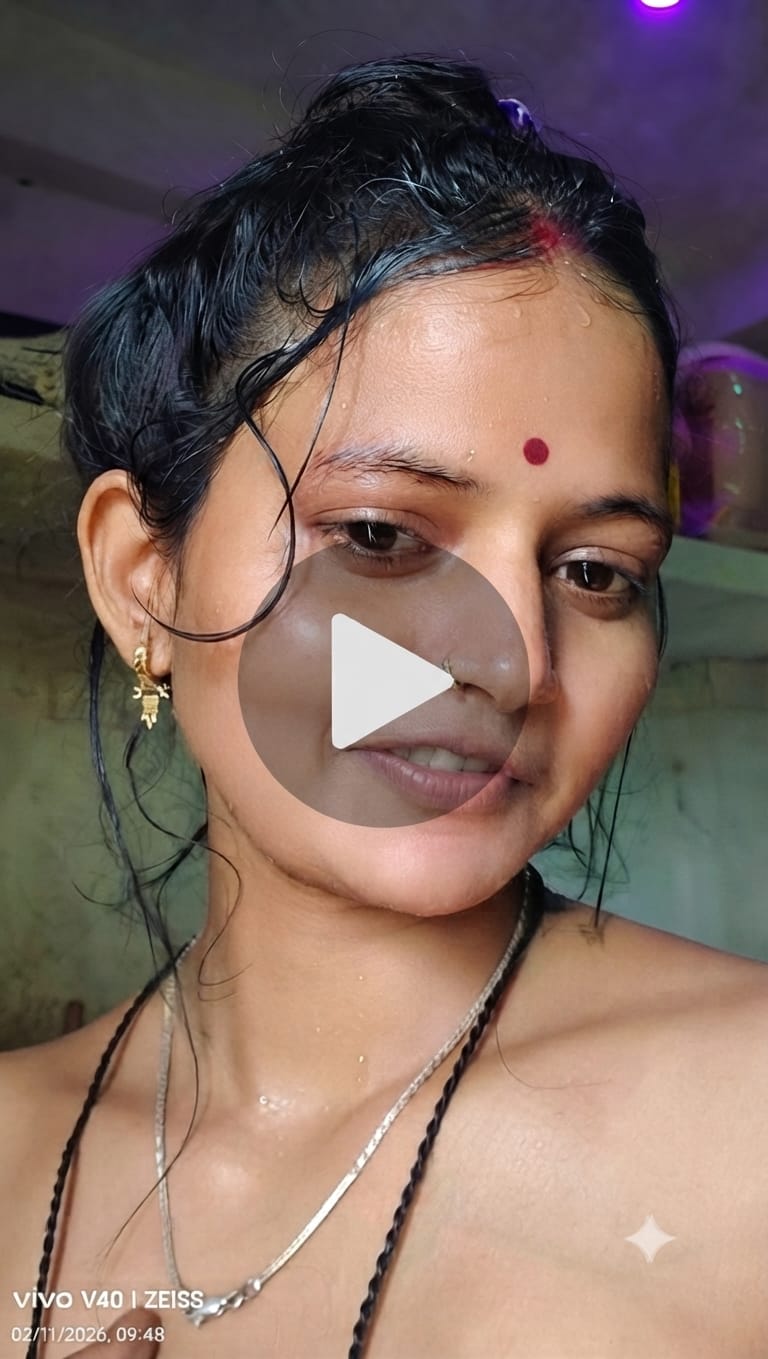
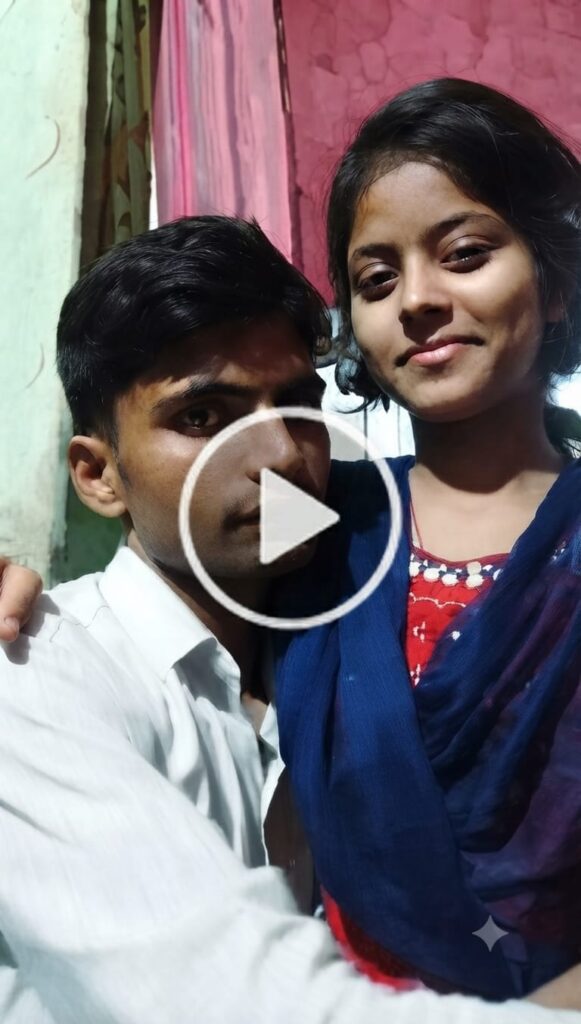
#1 — Natural Skin Tone Portrait Preset
Yeh sabse popular portrait preset hai. Indian skin tones ko natural warm tone deta hai bina orange ya artificial dikhaye. Soft shadows, lifted highlights, aur slight warmth golden hour photography ke liye perfect hai.
Settings: Exposure: +0.3 | Contrast: -10 | Highlights: -20 | Shadows: +15 | Whites: +5 | Blacks: -5 | Temp: +150 | Tint: +5 | Vibrance: +10 | Saturation: -5 | HSL: Reds +10, Oranges +8
#2 — Cinematic Golden Hour Preset
Sunset aur golden hour portraits ke liye yeh preset warm cinematic film look deta hai. Teal shadows aur warm highlights ka combination Instagram par viral hone wale cinematic portraits ke liye perfect hai.
Settings: Exposure: +0.15 | Contrast: +15 | Highlights: -35 | Shadows: +20 | Temp: +300 | Tint: +8 | Vibrance: +15 | HSL: Oranges +15, Yellows +10, Aqua -20 | Tone Curve: S-curve medium | Grain: 8
#3 — Monsoon Green Nature Portrait
Monsoon season aur nature backgrounds ke liye specially designed. Greens ko vibrant aur lush banana ke saath-saath skin tones ko natural rakhta hai — outdoor portrait photography ke liye ideal.
Settings: Exposure: +0.2 | Contrast: -5 | Highlights: -25 | Shadows: +10 | Temp: -50 | HSL: Greens +25 Saturation, +10 Hue toward Yellow | Yellows: +15 Sat | Reds: +8 Sat | Clarity: +8
#4 — Festival Portrait Preset
Yeh festival-specific preset Holi ke colors, Diwali ki warm glow, aur Chhath Puja ke sunrise moments ke liye perfect hai. High saturation aur warm tones festival photography ko vibrant aur joyful banate hain.
Settings: Exposure: +0.1 | Vibrance: +35 | Saturation: +15 | Temp: +200 | Highlights: -15 | Shadows: +25 | HSL: All colors +10-20 Saturation | Tone Curve: Lift shadows | Vignette: -10
#5 — Black & White Timeless Portrait
Classic black-and-white portrait photography ke liye premium monochrome preset. Deep contrast, smooth skin gradients, aur cinematic grain jo editorial aur fine art portrait photography mein professional results deta hai.
Settings: Saturation: -100 | Exposure: +0.2 | Contrast: +25 | Highlights: -20 | Shadows: +15 | Clarity: +15 | B&W Mix: Reds +15, Oranges +20, Yellows +10 | Grain: Amount 20, Size 25, Roughness 50
How to Download Preset
- Website par jaayein
- ‘Free Preset’ category select karein
- Apna preferred preset choose karein
- Download button click karein — .xmp ya .dng file download hogi
- Lightroom Mobile: Settings → Presets → Import Presets → select downloaded file
- Lightroom Desktop: Develop panel → Presets → right click → Import Presets
- Preset apply karein — done!
✅ Saare presets 100% free hain. Koi payment nahi, koi subscription nahi.
Portrait Photography Guide — Preset Se Pehle Yeh Jaanein
Preset apply karne se pehle portrait photography ke fundamental elements samajhna zaroori hai. Best preset bhi poorly composed ya poorly lit photo ko save nahi kar sakta.
Best Light Kaunsi Hai?
Presets natural lighting mein best results dete hain:
- Golden Hour (Sunrise/Sunset): Preset #2 ke saath magical results
- Window Light (Cloudy Day): Preset #1 ke saath best — diffused light skin tones ko natural banati hai
- Open Shade: Tree ya building ki shade mein shoot karein
- Avoid: Harsh midday direct sun — koi bhi preset is harsh light ko fully correct nahi kar sakta
Frame Kaise Karein?
Presets 4:5 aur 3:2 aspect ratios ke saath best kaam karte hain:
- Rule of Thirds: Subject ko center se thoda left ya right rakhein — cinematic feel aati hai
- Close-up Portraits: Face close-up shots mein #1 aur #5 best hain
- Full Body Shots: #2 (Golden Hour) full body composition mein cinematic feel deta hai
- Environmental Portraits: #3 (Monsoon Green) outdoor nature backgrounds ke saath best hai
Camera Settings — Ideal Settings
| Setting | Recommendation |
|---|---|
| Aperture | f/1.8 – f/2.8 — shallow depth of field background blur karta hai |
| ISO | 100-400 in daylight, max 800 in shade — clean skin tones |
| Shutter Speed | 1/250 – 1/500 for handheld — motion blur-free |
| White Balance | Shoot in RAW format — presets RAW files par best results dete hain |
| Focus Mode | Single Point AF on eyes — eye detail enhance hoti hai |
| File Format | Always RAW — presets RAW files par fully apply hote hain |
Facial Expressions — Kin Expressions Ko Best Enhance Karta Hai?
Presets natural expressions ke saath best kaam karte hain:
- Natural Smile: #1 genuine smile ko warm aur relatable banata hai
- Serious/Pensive Look: #5 (Black & White) serious expressions mein cinematic quality deta hai
- Candid Expressions: #3 outdoor candid portraits mein natural, fresh look deta hai
- Eyes: Always ensure eyes sharp focus mein hain — presets eye detail enhance karte hain
Clothing & Accessories — Preset Ke Saath Kya Pehno?
Certain clothing colors presets ke saath exceptional results dete hain:
| Preset | Best Clothing Colors |
|---|---|
| #1 Natural Skin Tone | Earthy tones: mustard yellow, terracotta, rust orange, sage green |
| #2 Cinematic Golden Hour | Warm colors: red, orange, gold, ivory, cream |
| #3 Monsoon Green | Cool colors: white, light blue, pastel shades |
| #4 Festival | Vibrant colors: all hues work — saturation enhance hoti hai |
| #5 Black & White | Contrast works best: white kurta, black outfit, high-contrast patterns |
Preset + AI Photo Editing — Power Combo
Ek unique approach hai: Preset (Lightroom editing) aur AI Photo Editing Prompts (ChatGPT, Gemini, Midjourney) ko combine karna ek two-step workflow mein. Yeh combination regular photographers ko pro-level results deti hai.
2-Step Workflow
Step 1 — AI Generate karo: AI Photo Editing Prompts use karke stunning base image generate karo. Example: ‘Girl Sitting in Boat’ prompt, Portrait prompts, Festival prompts — jo bhi scene chahiye.
Step 2 — Preset Apply karo: Generated AI image ko Lightroom mein import karo aur matching preset apply karo. AI image already excellent base quality hoti hai — preset usse aur cinematic aur Indian-aesthetic specific banata hai.
Result: AI Generation + Preset = Professional quality images jo technically excellent aur culturally authentic lagte hain.
Konsa Preset Konse AI Prompt Ke Saath Use Karein?
| AI Prompt Type | Best Preset Pairing |
|---|---|
| Girl Sitting in Boat — Golden Version | Preset #2 (Cinematic Golden Hour) |
| Girl Sitting in Boat — Natural Version | Preset #1 (Natural Skin Tone) |
| Holi Festival Portrait | Preset #4 (Festival) |
| Chhath Puja Sunrise | Preset #2 (Golden Hour) |
| Monsoon Nature Portrait | Preset #3 (Monsoon Green) |
| Dark Moody Portrait | Preset #5 (Black & White) |
| Wedding Bridal Portrait | Preset #1 ya #2 |
Composition Techniques for Better Portraits
Composition refers to how the subject is positioned inside the frame. A good composition can dramatically improve the visual impact of a portrait.
Face Position and Angles
Small adjustments in head position or camera angle can make a portrait look more dynamic and natural. Slightly tilting the head or resting the chin on the hand can add personality to the image.
Rule of Thirds
The rule of thirds is a basic photography principle. Instead of placing the subject directly in the center, place the subject slightly to the left or right side of the frame. This creates a more balanced and professional looking photograph.
The Role of Facial Expressions
Facial expressions play a major role in portrait photography. A natural smile can instantly make a photograph more engaging. Genuine emotions help create a connection between the subject and the viewer.
When the subject feels comfortable and relaxed, their expressions become more authentic. This authenticity is what makes natural portrait photography so powerful and memorable.
Clothing and Accessories
Clothing and accessories also influence the visual style of a portrait. Simple yet elegant clothing works best because it does not distract from the subject’s face. Traditional accessories like earrings, bracelets, or cultural outfits can add uniqueness and character to the photograph.
Importance of a Simple Background
A clean and simple background helps keep the focus on the subject. Dark or blurred backgrounds are often used because they make the face stand out more clearly. When the background is not distracting, viewers can easily focus on the subject’s expression and emotions.
Camera and Lens
Professional photographers often use lenses with wide apertures such as f/1.8 or f/1.4. These lenses create a shallow depth of field, which blurs the background while keeping the subject sharp. This effect gives portraits a professional and cinematic look.
Even modern smartphones now include portrait mode features that simulate this effect, making high-quality portrait photography accessible to everyone.
Preset Ko Customize Kaise Karein — Advanced Tips
Presets starting point hain — aap inhe apni photo ki specific lighting aur subject ke hisaab se fine-tune kar sakte hain. Yeh adjustments sabse zyada kaam aate hain:
- Exposure Correction: Agar preset apply karne ke baad photo thodi dark ya bright lage, Exposure slider ±0.3 adjust karein
- Skin Tone Fix: Agar skin too orange lage — HSL panel mein Orange Hue slider -5 to -10 karein
- Shadow Recovery: Shadows mein detail chahiye? Shadows slider +10 to +20 karein preset ke upar se
- Vibrance vs Saturation: Recommendation — Vibrance use karein, Saturation kam. Vibrance intelligently colors boost karta hai bina skin tones over-saturating ke
- Sharpening: Portrait mein Detail panel mein Sharpening: Amount 35, Radius 1.0, Hold Alt while clicking Masking aur skin mask set karein — sirf edges sharp hoti hain
- Noise Reduction: High ISO shots mein Luminance 20-30 set karein — skin smoothness aur detail balance maintain hota hai
Frequently Asked Questions
Q: Bihar Preset kya hota hai?
Bihar Preset ek Lightroom color grading preset hai jo specifically Indian photography ke liye design kiya gaya hai. Yeh presets Indian skin tones, sunlight conditions, monsoon greenery, aur festival colors ke liye optimized hain.
Q: Bihar Preset free download kahan se karein?
Bihar Preset ke liye trusted sources se download karein. Website par jaayein → ‘Free Preset’ category → apna preset choose karein → download karein. Koi payment, koi email signup required nahi.
Q: Bihar Preset Lightroom Mobile mein kaise install karein?
Install karna simple hai: (1) .dng ya .xmp file download karein, (2) Lightroom Mobile open karein, (3) Settings → Presets → three-dot menu → Import Presets, (4) Downloaded file select karein, (5) Preset appear ho jaayega aur use kar sakte hain.
Q: Bihar Preset aur regular Lightroom preset mein kya farak hai?
Regular Lightroom presets Western photography (European skin tones, landscapes) ke liye design hote hain. Bihar Preset specifically Indian photography ke liye optimize hai — Indian skin tones, Indian sunlight, monsoon greenery, aur Indian festivals ke liye. Results zyada authentic lagte hain.
Q: Konsa Bihar Preset portrait photography ke liye best hai?
Recommendation: Natural daylight portraits ke liye Preset #1 (Natural Skin Tone). Sunset/golden hour ke liye Preset #2 (Cinematic Golden Hour). Outdoor nature ke liye Preset #3 (Monsoon Green). Festivals ke liye Preset #4. Fine art ke liye Preset #5 (Black & White).
Q: Kya Bihar Preset aur biharpreset.com ka preset same hai?
Nahi. Yeh do alag sources hain. Original presets ke liye trusted source se hi download karein.
Conclusion
Portrait photography is more than just taking a picture of someone’s face. It is about capturing emotion, personality, and natural beauty. With proper lighting, good composition, authentic expressions, and a clean background, photographers can create portraits that feel both artistic and real.
Natural portrait photography continues to grow in popularity because it celebrates authenticity. Instead of focusing on heavy editing, it highlights the true beauty of the subject and preserves moments in a timeless way.
Bihar Preset is your perfect companion to achieve that professional, cinematic, and culturally authentic look in your photos — all for free!
Ready to transform your photos? Download your free preset today and start creating stunning portraits! 📸✨